

Great Value French Vanilla Cappuccino Beverage Mix, 16 oz Pack of 3
US$8.68
Price when purchased online
Free shipping
Free 30-day returns
Sold and shipped by devcodelight.com
We aim to show you accurate product information. Manufacturers, suppliers and others provide what you see here.
US$8.68
Price when purchased online
Free shipping
Free 30-day returns
Sold and shipped by devcodelight.com
Free 30-day returns Details
Product details
| Management number | 216846524 | Release Date | 2026/04/19 | List Price | US$8.68 | Model Number | 216846524 | ||
|---|---|---|---|---|---|---|---|---|---|
| Category | |||||||||
| UPC | 740972861376 |
|---|---|
| Flavor | French Vanilla |
| Item Form | Instant |
| Specialty | Kosher Certified |
| Brand Name | Great Value |
| Unit Count | 48 Ounce |
| Item Weight | 3.4 Pounds |
| Container Type | Canister |
| Product Shelf Life | 730 Days |
| Item Package Weight | 1.54 Kilograms |
| Special Ingredients | French Vanilla |
Bestseller ranking
Instant Coffee


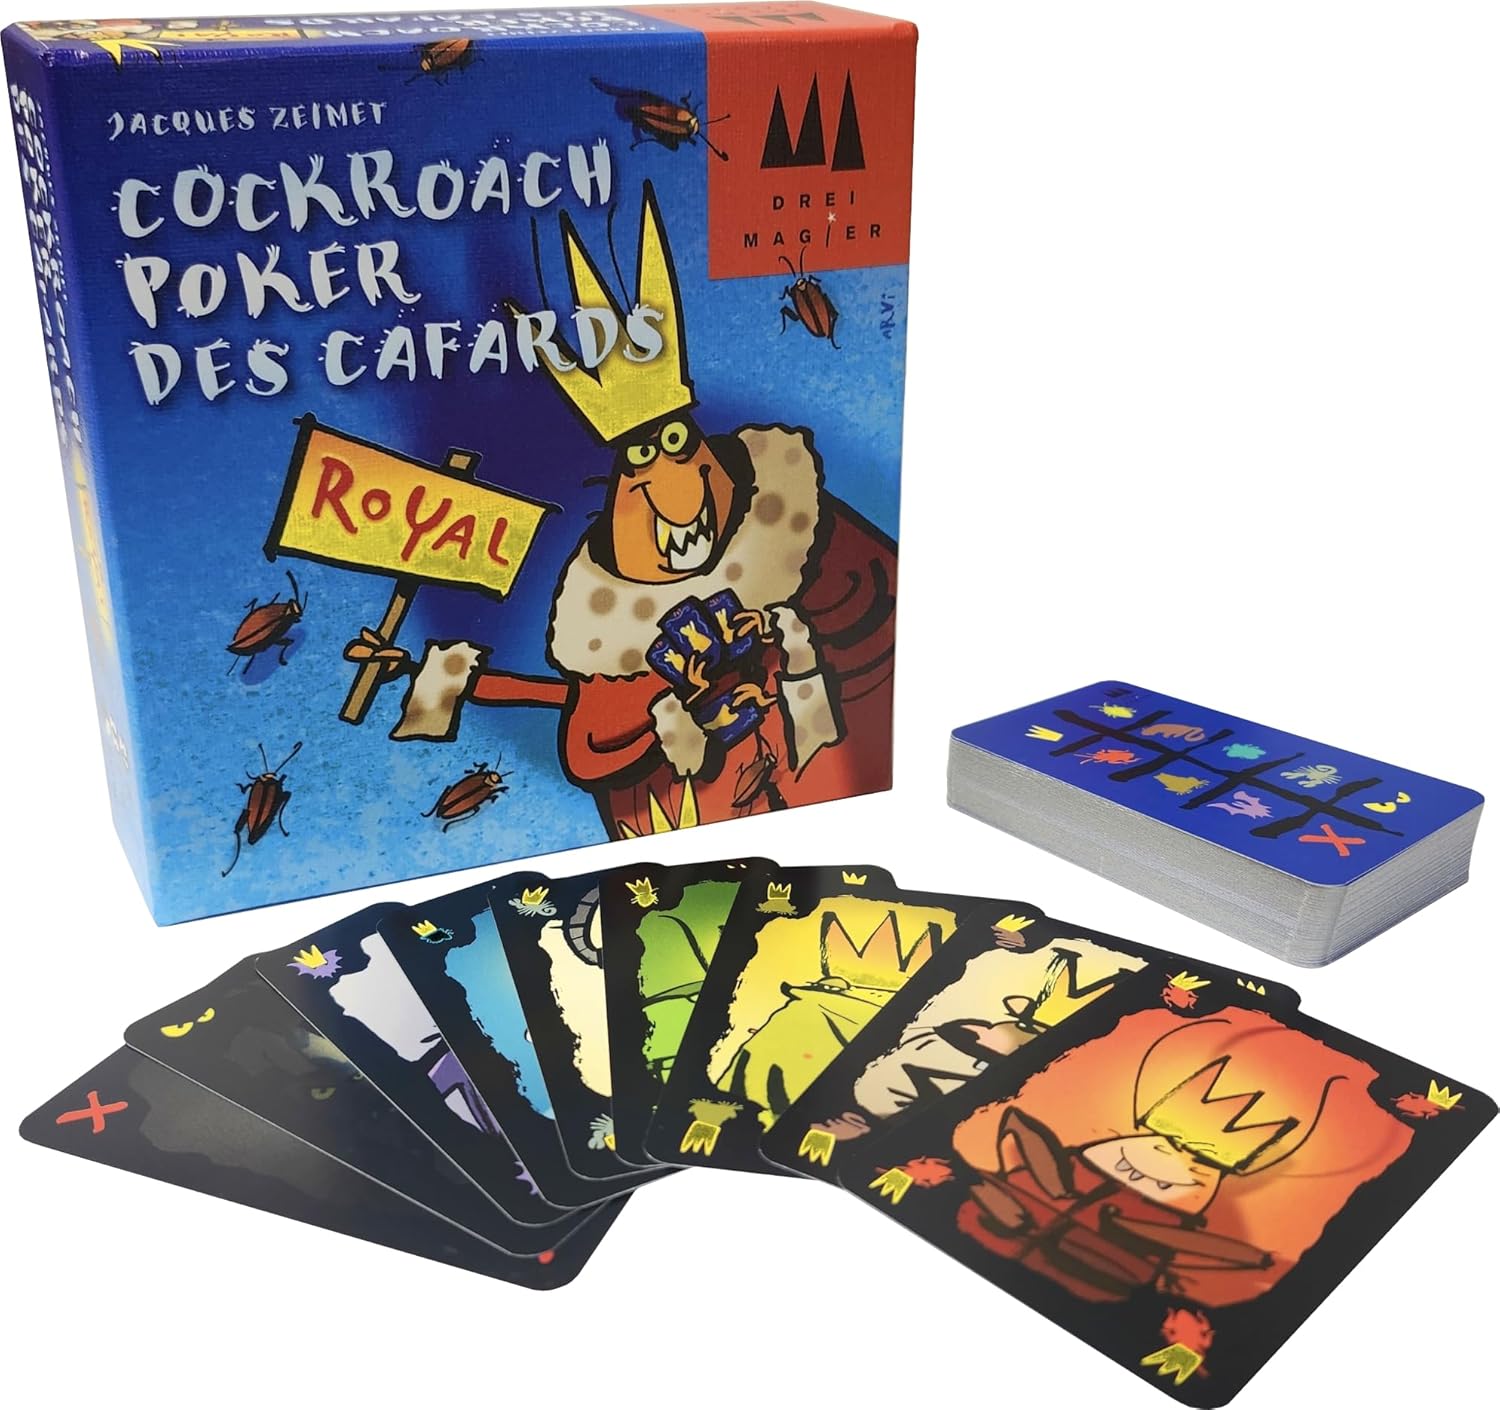
Customers who viewed this product also viewed
Games & Accessories


Correction of product information
If you notice any omissions or errors in the product information on this page, please use the correction request form below.
Correction Request Form