

Blackview Rugged Smartphone Unlocked, 2023 BV6200 Rugged Phones, 13000mAh Battery 18W Fast Charge, Android 13, 8GB+64GB/2TB Expand, Waterproof Mobile Phones, Three Card Slots, 6.56" Display, T-Mobile
US$71.33
Price when purchased online
Free shipping
Free 30-day returns
Sold and shipped by devcodelight.com
We aim to show you accurate product information. Manufacturers, suppliers and others provide what you see here.
US$71.33
Price when purchased online
Free shipping
Free 30-day returns
Sold and shipped by devcodelight.com
Free 30-day returns Details
Product details
| Management number | 209050772 | Release Date | 2026/03/29 | List Price | US$71.33 | Model Number | 209050772 | ||
|---|---|---|---|---|---|---|---|---|---|
| Category | |||||||||
- 🔋13000mAh Battery & 18W Fast Charge】🔋Blackview BV6200 rugged smartphone with a gargantuan 13000mAh battery which can up to 62 days Standby! The 18W fast charging allows the BV6200 to fully charge in just four hours. 13000mAh Battery gives you 1488 hours of standby time, 50 hours of calling and 20 hours of video. The 5W OTG function can use BV6200 android phones as a mobile power to power other electronic devices.
- ✅【The Latest Android 13 & Doke 3.1 Operating System】✅ The BV6200 rugged smartphone unlocked come equipped with the latest Android 13 operating system, greater emphasis on privacy and security. It offers unique features like individual language settings for each app and enhanced data security through DAC + MAC double protection. Experience upgraded privacy and personalization. . The Android 13 system of BV6200 rugged smartphone also enhances call recording function to meet your call recording needs at work.
- 🚀【8GB RAM+64GB ROM/2TB Expand & 3 Card Slots】🚀 Equipped with MediaTek Helio A22 processor, which helps run games more fluidly and responsively. 4GB RAM+64GB ROM big storage can support expand your RAM up to 8GB (with 4GB virtual memory), makes it more effortless and buttery-smooth for you when handle multiple tasks. With 64GB ROM expandable to up to 2TB. With a dedicated Micro SD slot that supports up to 2TB of external storage. (Note: Restart cellphone after put-in storage card).
- ☔【Professional Military-grade】☔ BV6200 rugged smartphone equipped with an upgraded design and improved materials to meet every possible rugged challenge. The phone has IP68 and IP69K professional military-grade waterproof certification and upgrades MIL-STD-810H drop-proof to improve durability and battery life. With the ability to withstand 1.5m drop to the ground, the BV6200 is ideal for outdoor workers, explorers, bikers, and motorcyclists enthusiasts.
- 📲【6.56-inch Big Screen】📲 The BV6200 rugged phone has a 6.56-inch screen with a screen-to-body ratio of up to 83%. The visual effect is fascinating. Compared with similar-sized mobile phones, BV6200 has a larger screen, providing a more comfortable viewing experience. In addition, the BV6200 uses Smart-K cabinet speakers to increase the volume of the speakers, allowing you to experience a different kind of spiritual sublimation, just like being in a concert.
- 🔔【Loudest Speaker】🔔Speaker 98 db You work in the industrial sector. You need a sharp noise while you walk through the forest. This mobile phones has its talking impressions, its maximum volume of 98 dB with Smart PA optimisation, does not lose quality even with loud sound. Serves as a sound field at a family party, as an alarm in an urgent situation. You will always find the best use of the BV6200 in your life!
- 💙【Multi-Function+Excellent After-sales Service】💙 Triple card slots accommodate 2 nano SIM cards + 1 micro SD/TF card (SIM/SD not included). Unlock via Face ID Recognition. Glove mode ensures smooth screen use even while wearing gloves. Benefit from GPS, Beidou, GLONASS, and Galileo navigation. Our shop guarantees all Blackview phones for 24 months. Should issues arise, reach out to us for prompt assistance.
- 📶【Wide 4G GSM Compatibility】📶 Blackview BV6200 rugged phones support 4G network, compatible with GSM carriers like T-mobile and more. Not compatible with CDMA carriers such as AT&T, Cricket Wireless, Verizon, Sprint, Boost Mobile, Straight Talk or U.S.Cellular! Support Network: 2G GSM: B2/B3/B5/B8; 3G WCDMA: B2/B3/B4/B5; 4G FDD: B2/B3/B4/B5/B7/B12/B13/B25/B26/B66.
| UPC | 810150404937 |
|---|---|
| Brand | Blackview |
| Color | Black |
| Frame Rate | 30 FPS |
| Model Year | 2023 |
| Resolution | 720 x 1612 |
| Form Factor | Smartphone |
| Screen Size | 6.5 Inches |
| Aspect Ratio | 16:9 |
| Camera Flash | no flash |
| Display Type | LCD |
| Manufacturer | Blackview |
| Model Series | BV6200 |
| Refresh Rate | 60 |
| Battery Power | 13000 |
| BuiltIn Media | Power Adapter |
| Sim Card Size | Nano |
| Connector Type | USB Type C |
| Phone Talk Time | 50 Hours |
| Processor Speed | 2 GHz |
| Battery Capacity | 4000 |
| Operating System | Android |
| Processor Series | MediaTek Helio |
| Material Features | rugged and water-resistant |
| Wireless Provider | Unlocked |
| Camera Description | Front |
| Additional Features | Large Battery Capacity, Ruggedized Military-grade Protection |
| Battery Charge Time | 4 Hours |
| Battery Description | Lithium-Ion |
| Cellular Technology | 4G |
| SIM Card Slot Count | Triple SIM |
| Battery Average Life | 1488 Hours |
| HumanInterface Input | Touchscreen |
| RAM Memory Installed | 8 GB |
| Warranty Description | 2-year warranty |
| Display Pixel Density | 360 Pixels Per Inch (PPI) |
| Water Resistance Level | Water Resistant |
| Connectivity Technology | Wi-Fi, 2G, 3G, 4G |
| Memory Storage Capacity | 64 GB |
| Number of Front Cameras | 1 |
| Video Capture Resolution | 1080p |
| Specific Uses For Product | Outdoor activities, rugged environments, extreme sports, outdoor work sites |
| Biometric Security Feature | Face Recognition |
| Display Resolution Maximum | 720 x 1612 |
| Wireless Network Technology | Wi-Fi |
| GPS Geotagging Functionality | GPS, GALILEO, GLONASS, BEIDOU |
| Front Photo Sensor Resolution | 8 MP |
| Average Battery Life Talk Time | 50 Hours |
| Flash Memory Supported Size Maximum | 2 TB |
| Rear Facing Camera Photo Sensor Resolution | 13 MP |


Bestseller ranking
Cell Phones


Customers who viewed this product also viewed
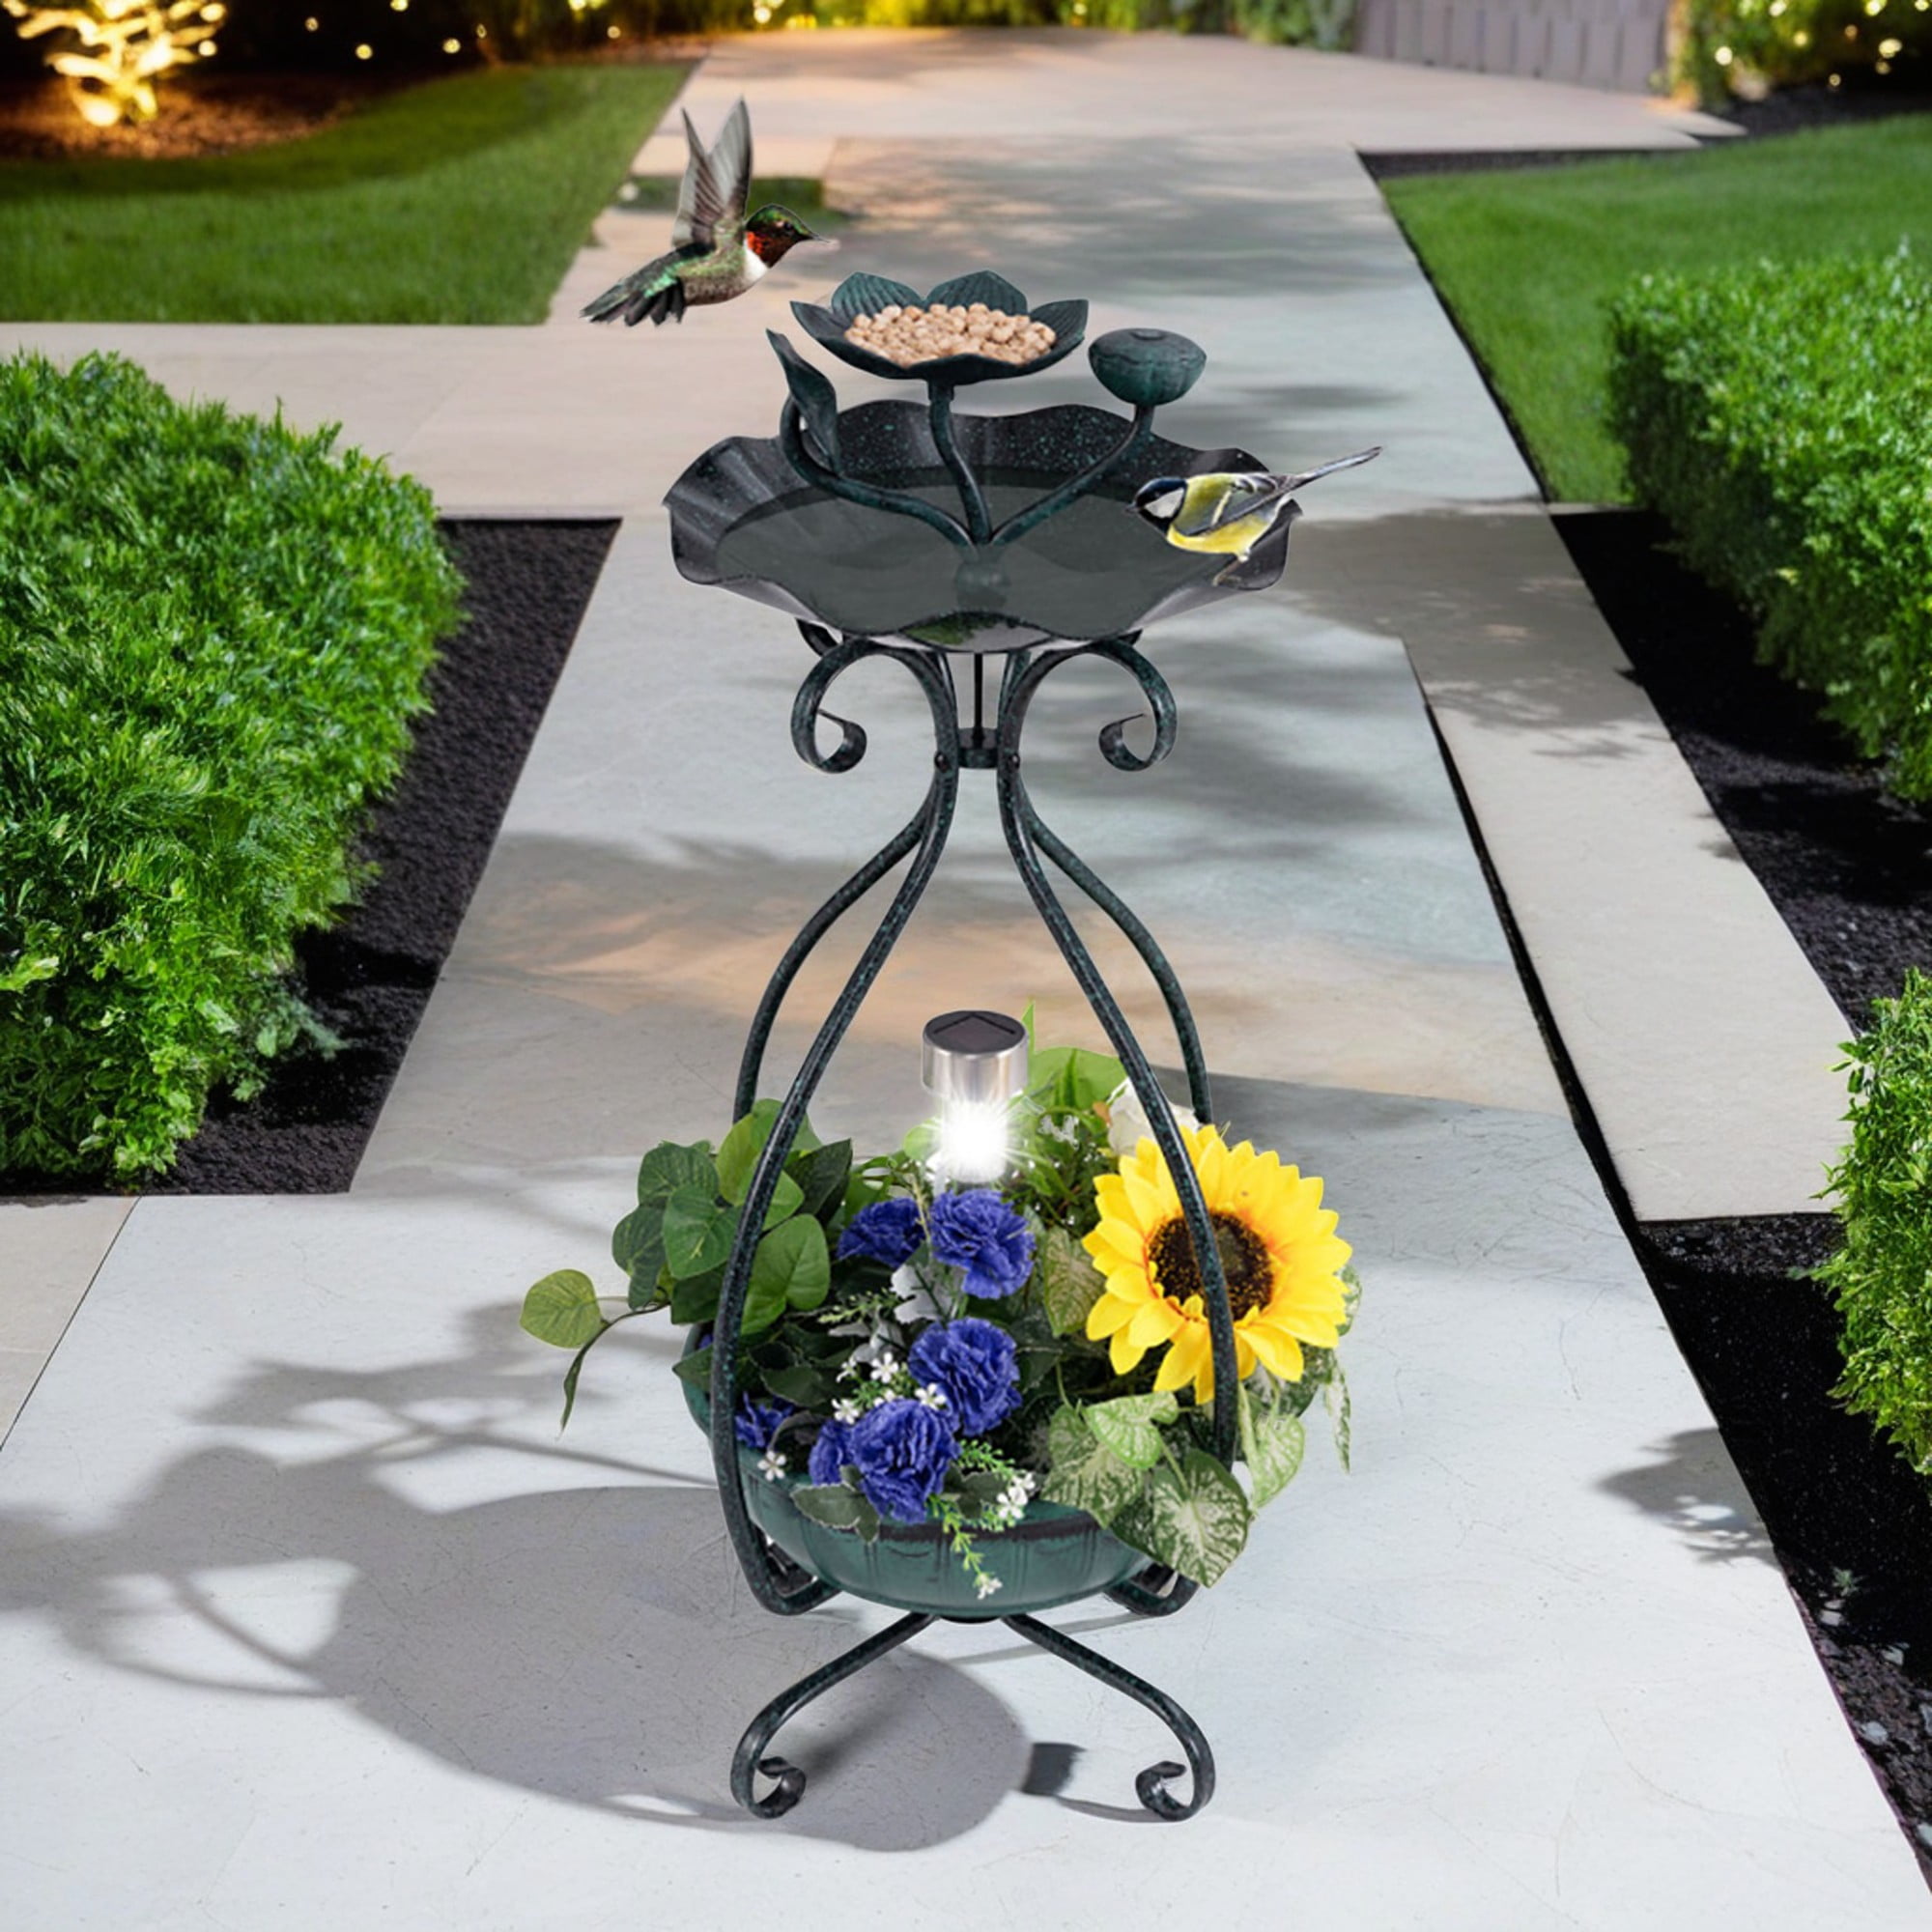
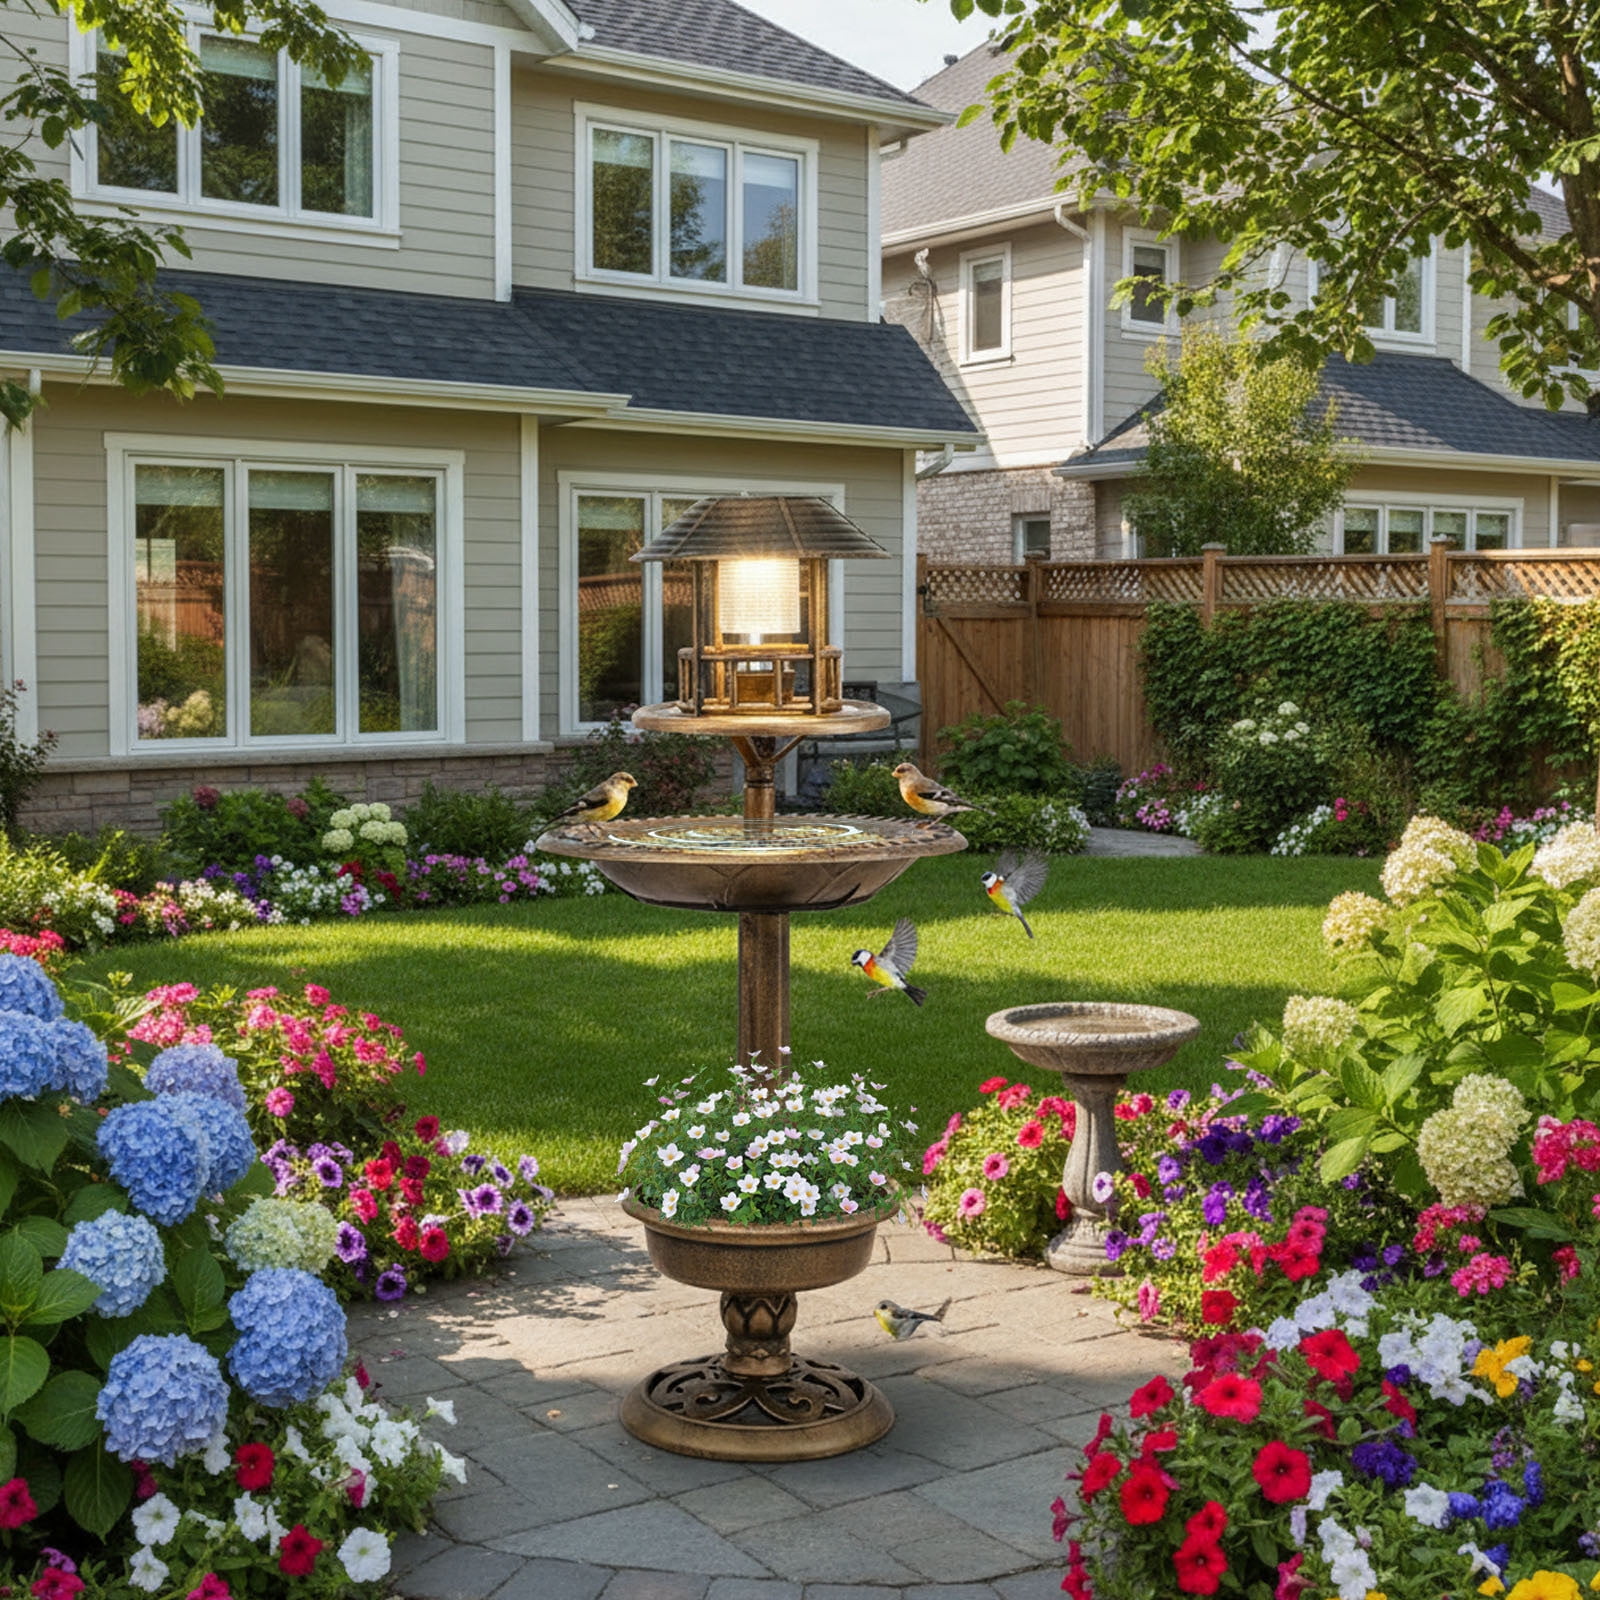
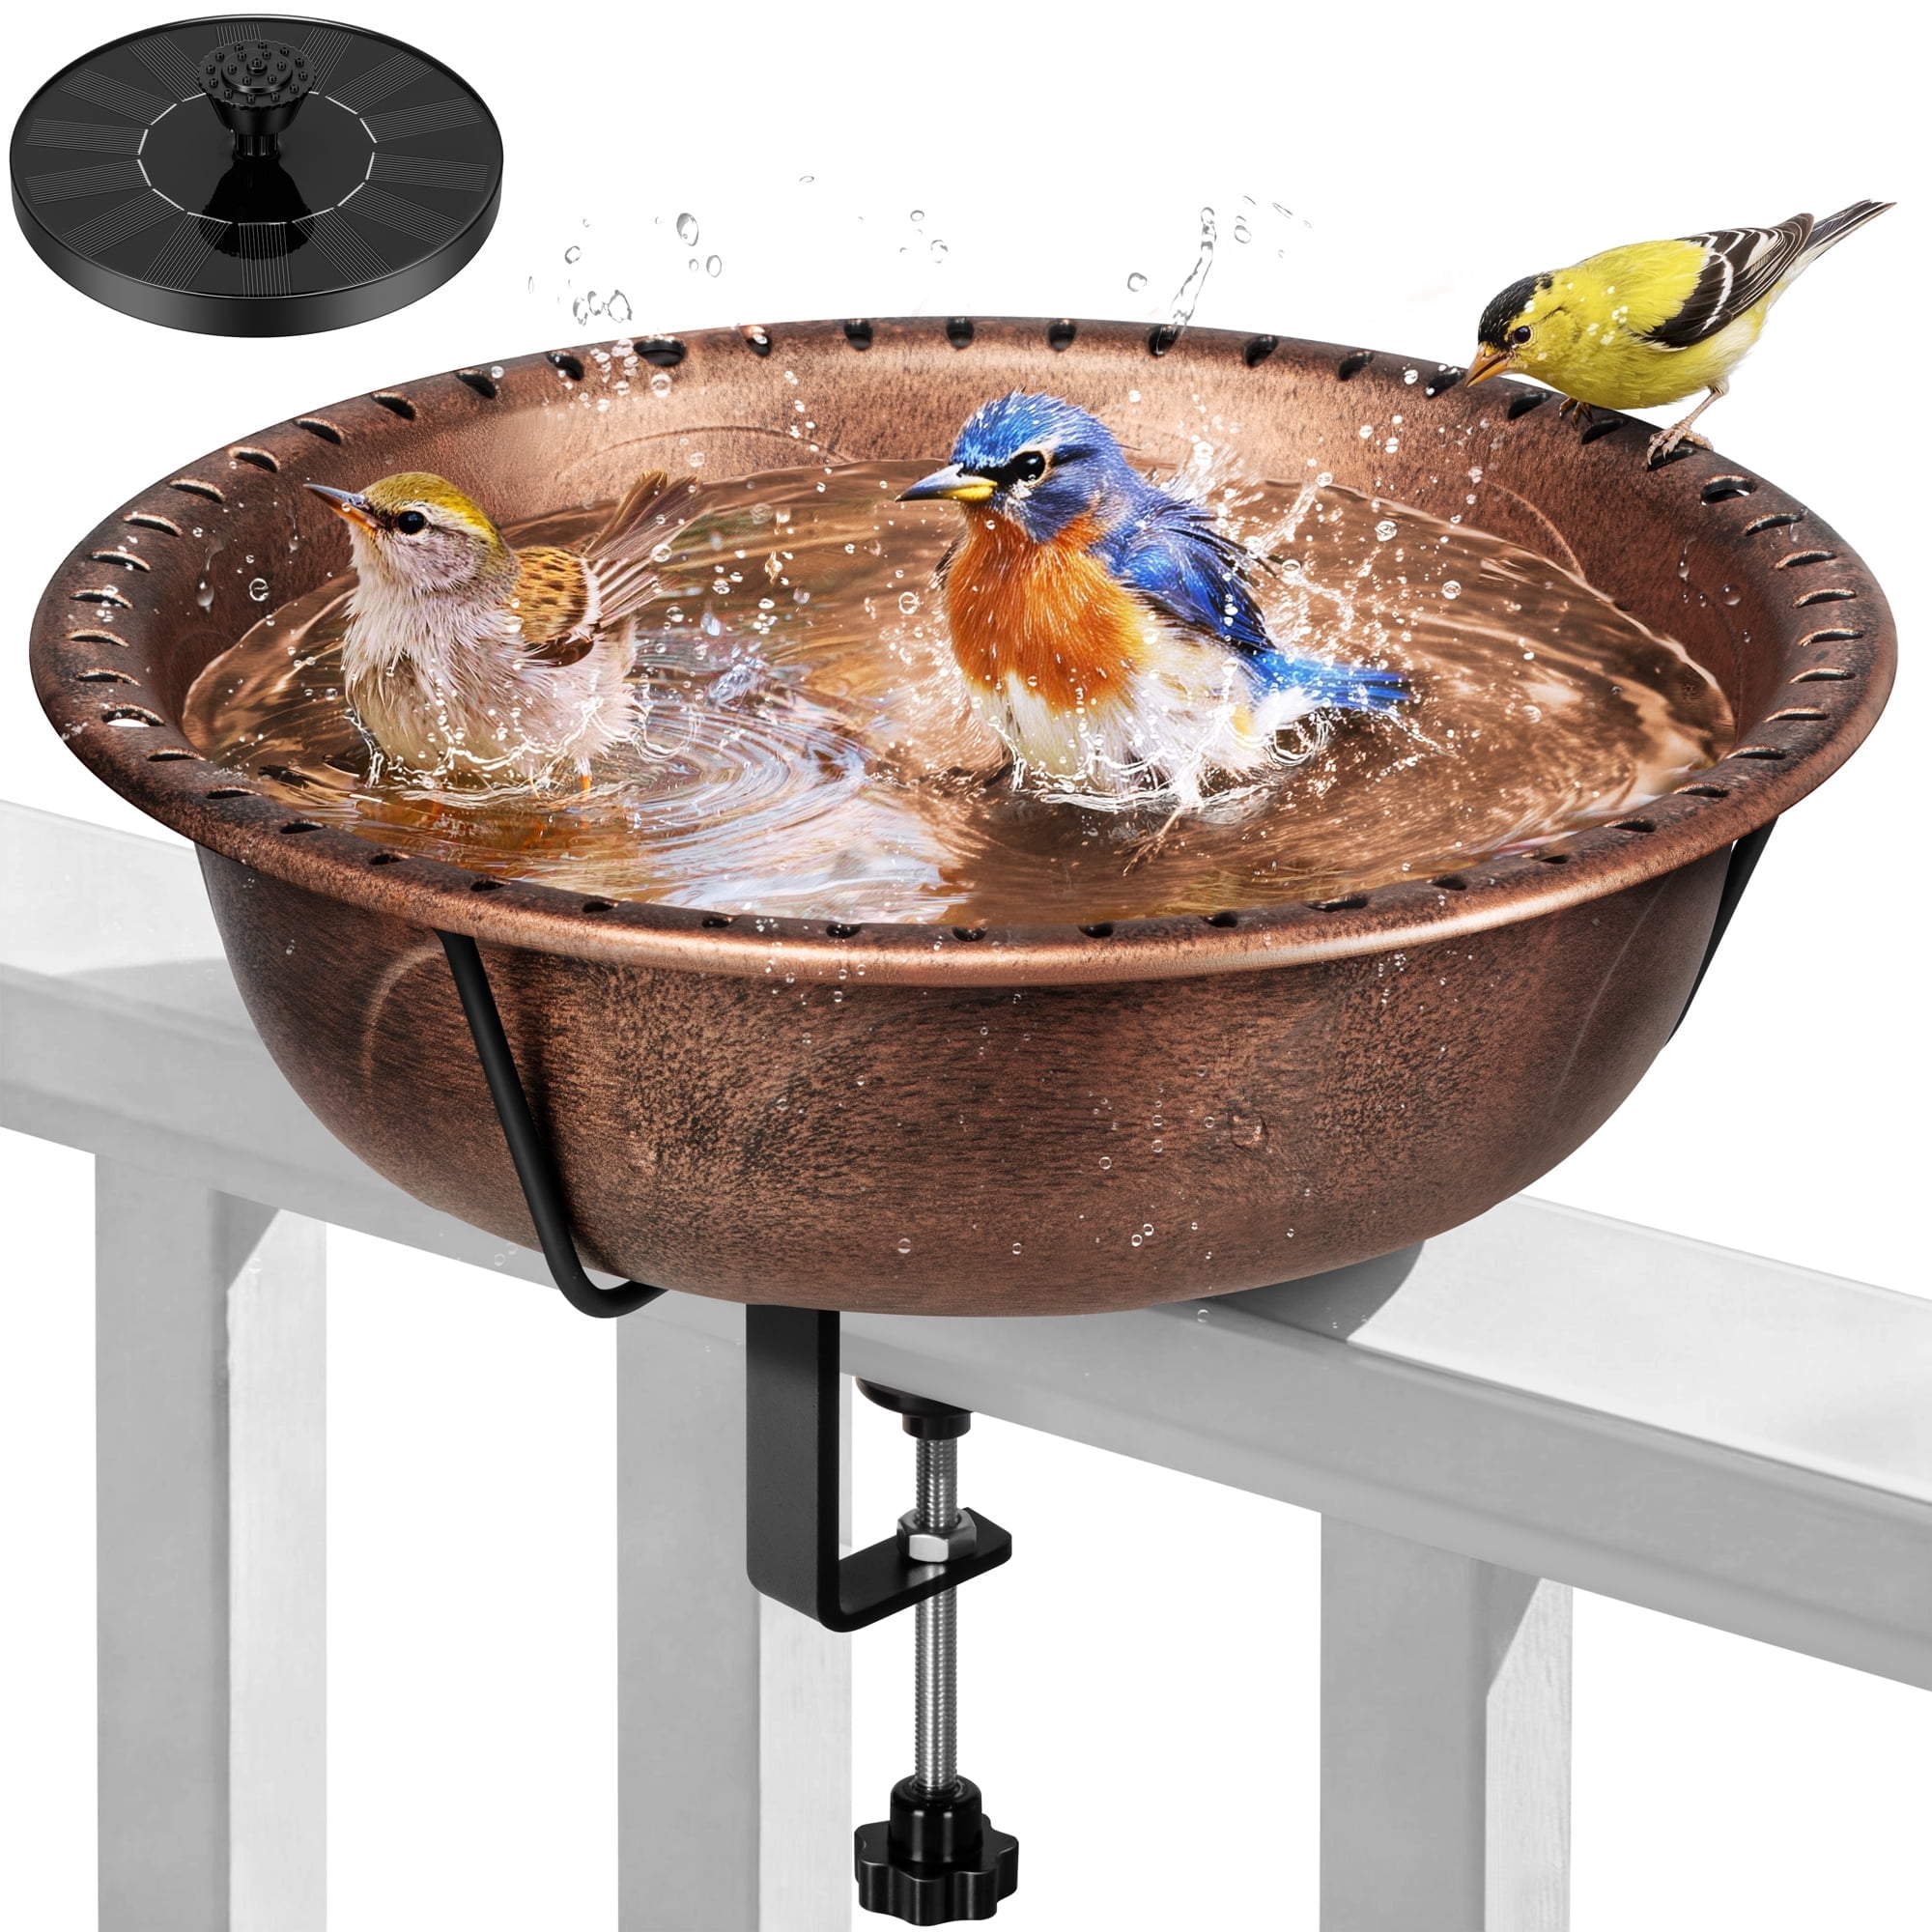
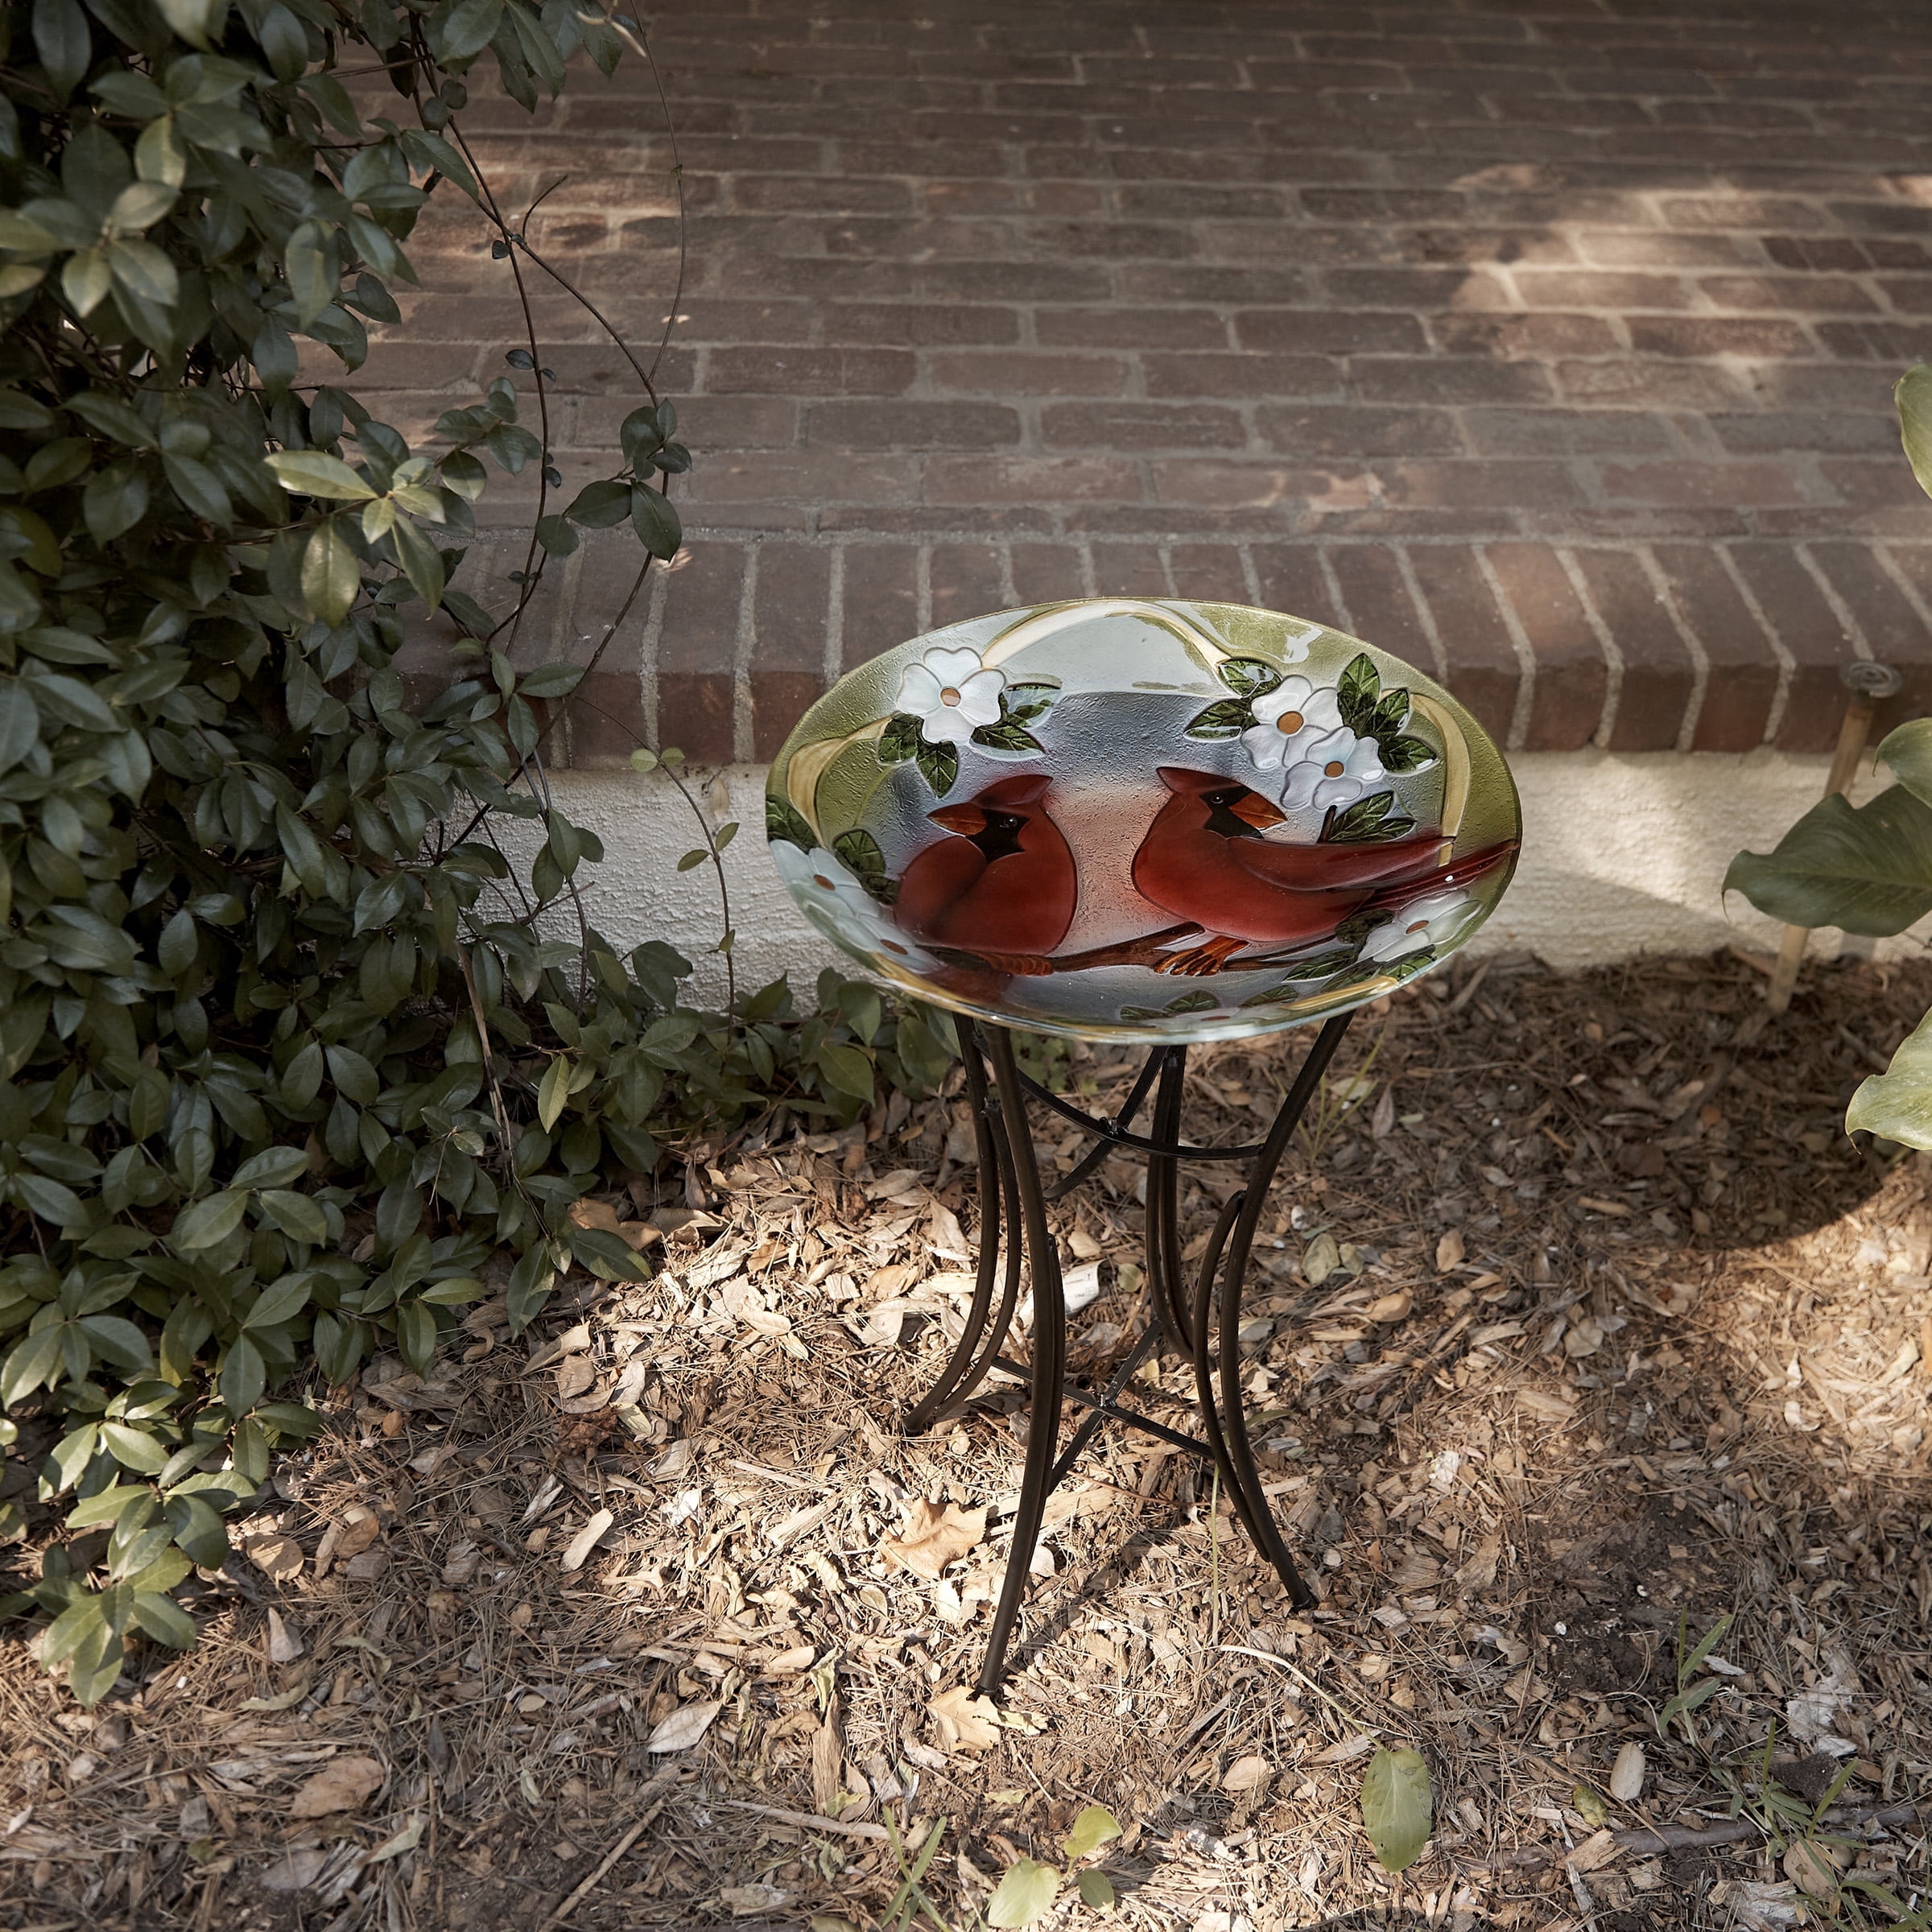
Solar Powered Bird Baths


Correction of product information
If you notice any omissions or errors in the product information on this page, please use the correction request form below.
Correction Request Form